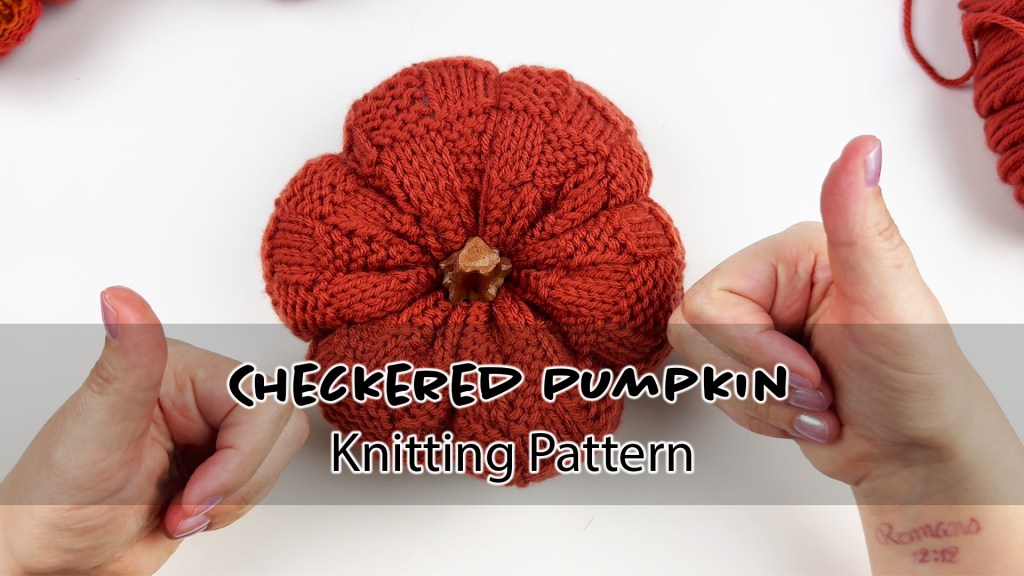
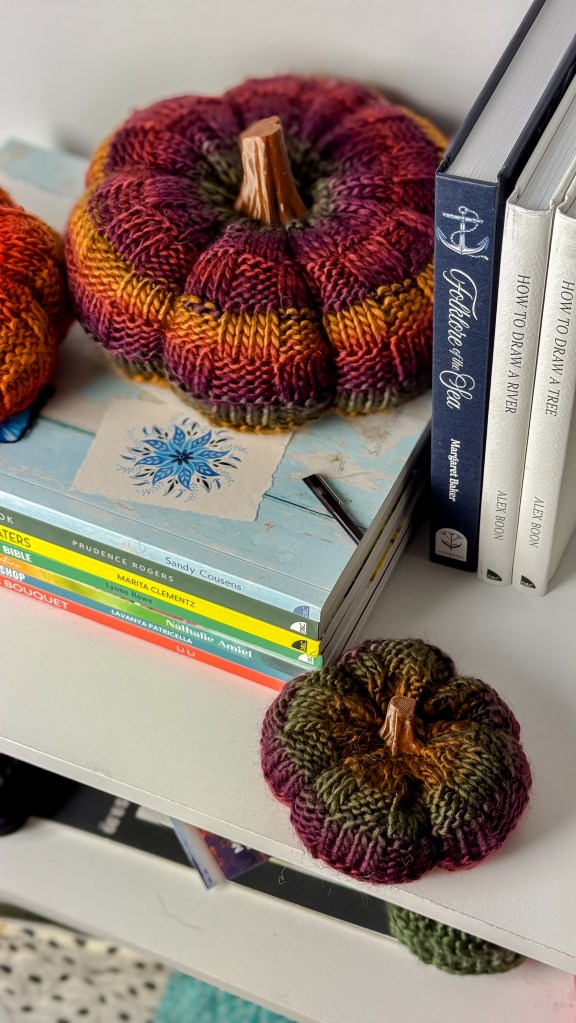
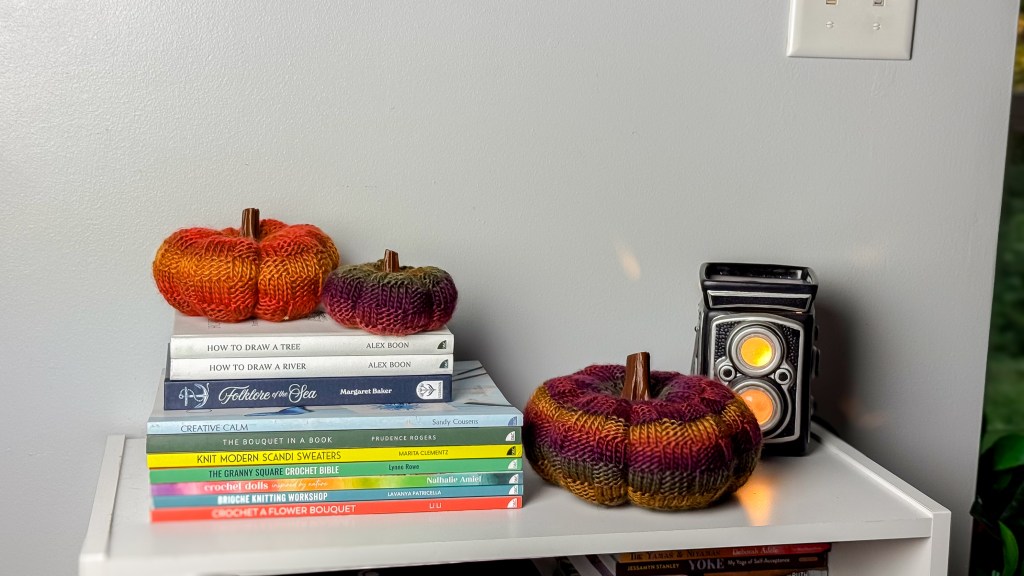
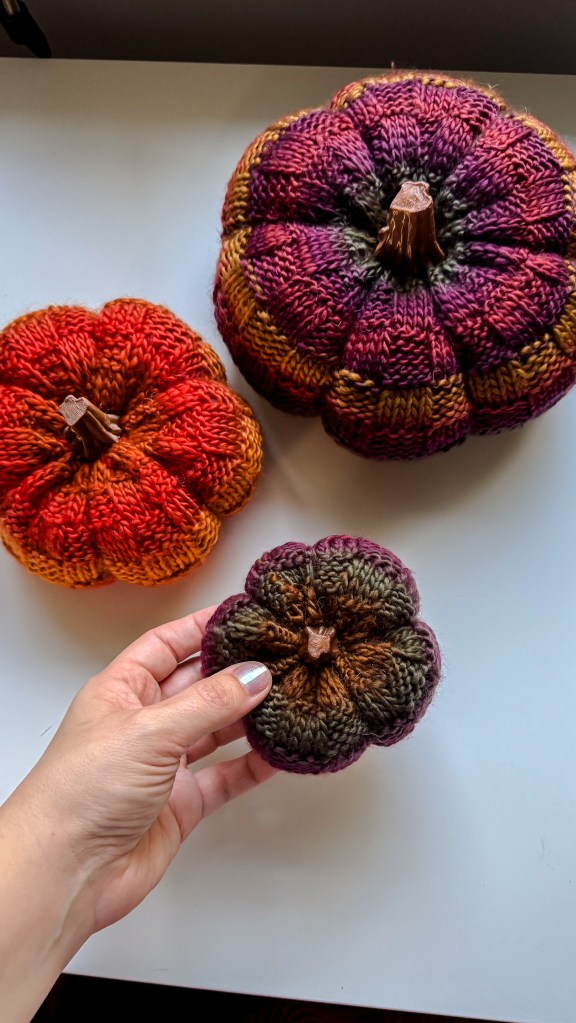
Welcome back to the blog, today we will be knitting a medium sized checkered pumpkin. I love making pumpkins, it really gets me excited for fall and they have always been a huge hit at markets.

The knit pumpkin we are making today will be made in the round. If you’d like the full pattern that include sizes small, medium, and large and instruction for making them in the round and flat you can find the ad-free PDF on my Etsy or Ravelry.
You can find the video tutorial for the medium Checkered Pumpkin on my Youtube here.
You can also find a tutorial for finishing the pumpkin on my Youtube. I walk you through how to seam it when working flat, as well as cinching the top and bottom, can creating the indents.
I designed my pumpkins using Michael’s Loops & Threads Facets. It’s a decent alternative to single ply wool, but I will admit I still like wool better.
What you’ll need:
Worsted or Aran Weight Yarn
4.5mm circular needles 16″ or larger if you want to do magic loop.
Tapestry Needle
Stem of your choosing, I used my own 3D printed stems that you can purchase in my shop.
Abbreviations:
r – round
k – knit
p – purl
st(s) – stitch(es)
p2tog – purl 2 sts together
k2tog – knit 2 sts together
Gauge:
19 sts x 28 rows = 4 inches, in checkered pattern, unblocked.
Notes:
Medium pumpkin is 18 blocks wide x 8 blocks high.
Pattern:
Cast on 72 sts.
R1-5:(P4, K4) repeat around.
R6-10: (K4, P4) repeat around.
Repeat R1-10: 2 more times.
Repeat R1-5: 1 more time. [7 blocks high]
Decrease:
R1: (K4, P4) repeat around. (72 sts)
R2: (K4, P2tog, P2tog) repeat around. (54 sts)
R3: (K2, P4) repeat around. (54 sts)
R4: (K2tog, K2tog, P2) repeat around. (36 sts)
R5: (K2tog, P2tog) repeat around. (18 sts)
Do not bind off, move on to finishing.
Finishing: Cut a long piece of yarn, thread needle and weave through remaining live stitches and cinch closed. Cut another long piece of yarn, thread needle and weave through stitches on cast on edge, stuff pumpkin, cinch closed.
To create the ridges of the pumpkin you will cut a 24 inch piece of yarn. Using your tapestry needle start at the bottom of the pumpkin, insert the needle through the cinched center and up through the top leaving about 6 inches of a tail on the bottom. Wrap around the outside of the pumpkin and sew through the bottom center and up through the top again, pulling tight. Repeat 5 more times, every 2-4 squares. Decorate with stem of your choosing. You can view a tutorial here.
Thank you so much being here. Enjoy making all the pumpkins.
❤ Corrine

Leave a Reply