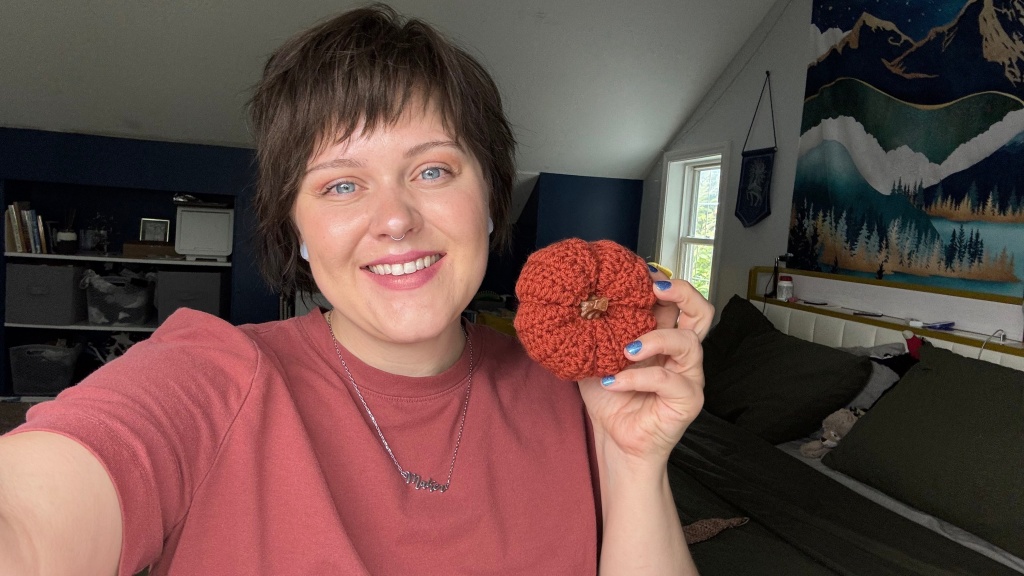
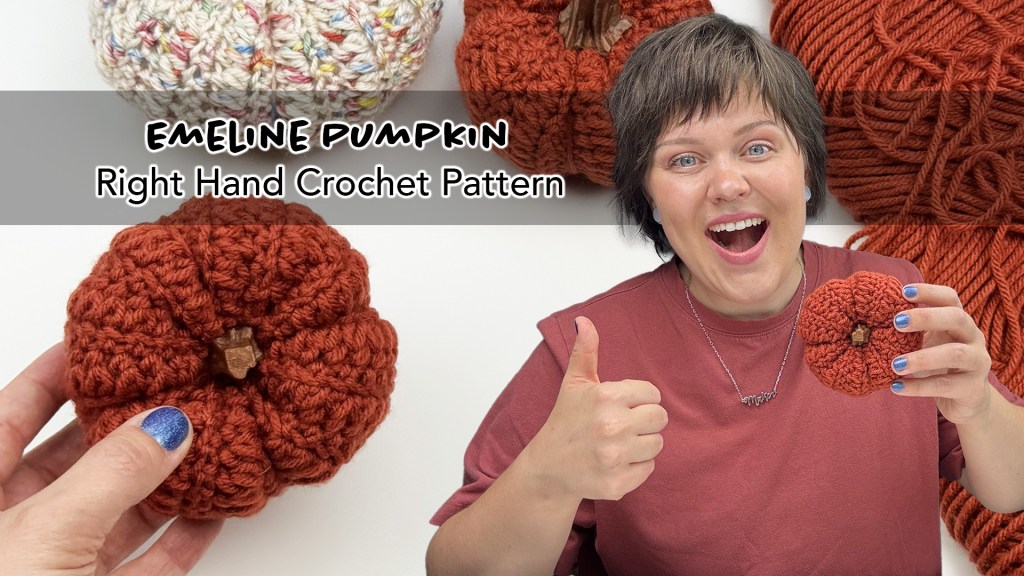
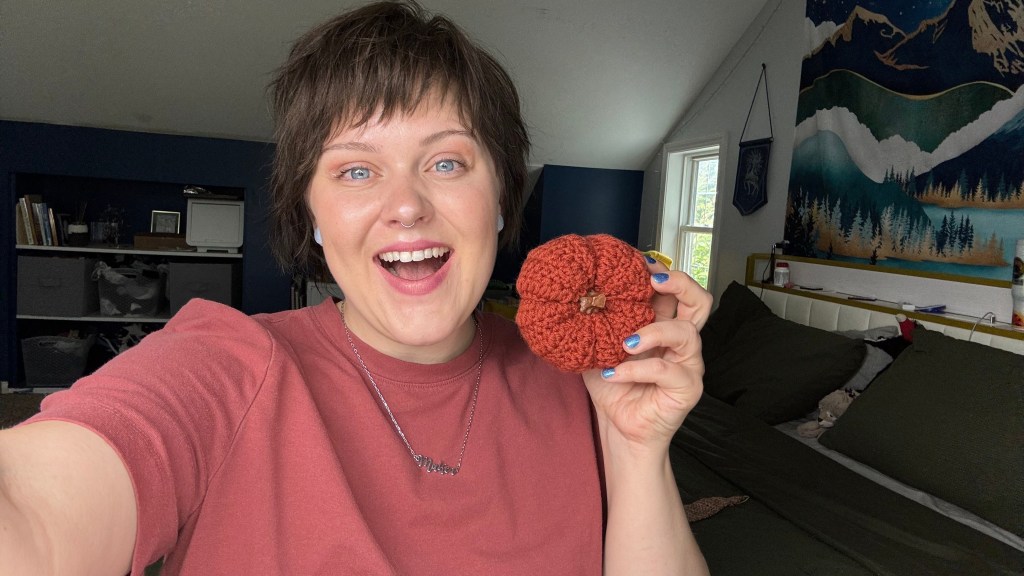
Hello! Welcome back to the blog, today we will be making the Emeline Pumpkin.
I’ve given myself the challenge to record 10 pattern tutorials for my Youtube and this is week two! Last week I shared the Emeline Hanging Dish Cloth and today Emeline Pumpkin tutorial is officially out.
For my crochet tutorials I always share a left hand and right handed version since I’m a lefty. Click the images below to watch the Youtube videos!
Now let’s get to the written pattern!
What you will need:
Worsted Weight Yarn – I used Big Twist from Joanns, Michael’s should be carrying it soon.
4mm Crochet Hook – I used the Tulip set and I love it.
Scissors
Tapestry Needle
Stem – I used my own 3D printed stems that you can find here.
Gauge:
14 sts x 8 rows = 4×4 inches, in pattern.
Abbreviations:
Ch – chain
HDC – half double crochet
FC – forked cluster
DC – double crochet
slst – slip stitch
Special Stitches:
For a visual of how to do these stitches check out my Youtube videos.
Forked Cluster in the first stitch: YO, insert into stitch, pull up a loop, YO, insert into same stitch, pull up a loop, YO, pull through 3 loops, YO, pull through 3 loops.
Forked Cluster (second stitch): YO, insert into stitch, pull up a loop, YO, insert into following stitch, pull up a loop, YO, pull through 3 loops, YO, pull through 3 loops.
Forked Cluster (stitch 3-15 in pattern): YO, insert into same stitch as the second leg of the last FC, pull up a loop, YO, insert into following stitch, pull up a loop, YO, pull through 3 loops, YO, pull through 3 loops.
Pattern:
Ch 17, start in second chain from hook. I prefer using the back loops of the chain.
Row 1: HDC across, turn, ch 2. (16 sts)
Row 2: FC in first stitch only, in the second stitch begin to FC across – ending with the second leg of the 15th FC in the last stitch, DC in last stitch, turn, ch 1. (15FC, 1DC=16 sts)
Repeat Row 1 + 2 a total of 6 times, you will have a total of 12 HDC and 12 FC rows.
Slip stitch ends together or use your preferred method for joining edges.
I folded the work in half with the right sides facing eachother and the wrong side out. Insert hook into the back loop of the first stitch of the last row worked AND the front loop of the first stitch of the starting chain row. Slip stitch across and finish off with a long tail.
Take the tail and sew through the edge of each FC row then cinch closed. Turn right side out.
Cut a long piece of yarn and sew through the edge of each FC of the remaining opening.
Stuff the pumpkin to your desire then cinch closed.
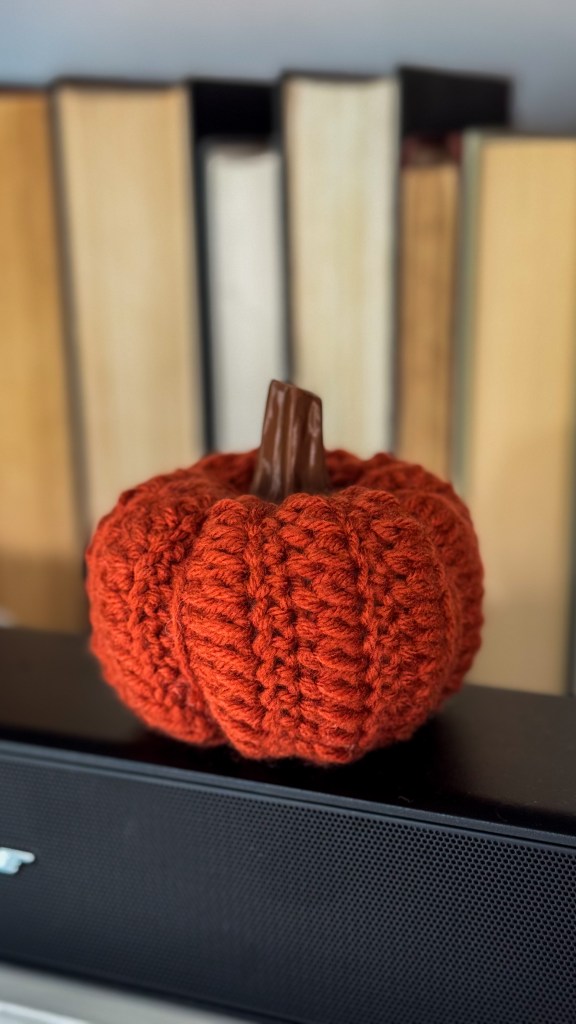
Creating the indents: Now take another long piece of yarn to sew through the center of the pumpkin and wrapping around the outside lining it up with a half double crochet row and through the center again. Pull it tight to cinch. Repeat this three more times. Weave in ends.
Last step is to add a pumpkin stem of your choosing. I have 3D pumpkin stems in my shop but you could also use a stick, cork, cinnamon stick, or crochet one. Lots of options.
Thank you so much for being here and happy making.
❤ Rin

Leave a Reply